Your high-performance CPU is begging for an escape from the heat, and a liquid cooler is often the answer. While the thought of introducing liquid to your PC might seem daunting, mastering the Installation Guide and Best Practices for Liquid CPU Coolers is far more approachable than you think. This guide is designed to empower you with the confidence and knowledge to tackle the job, ensuring your system runs cool, quiet, and stable for years to come.
Forget wrestling with chunky air coolers and enjoy the sleek aesthetics and superior thermal performance of an All-in-One (AIO) liquid cooler. Whether you're upgrading your current setup or building a new beast from scratch, getting the installation right is crucial. Let's dive in.
At a Glance: Your Quick Cheat Sheet
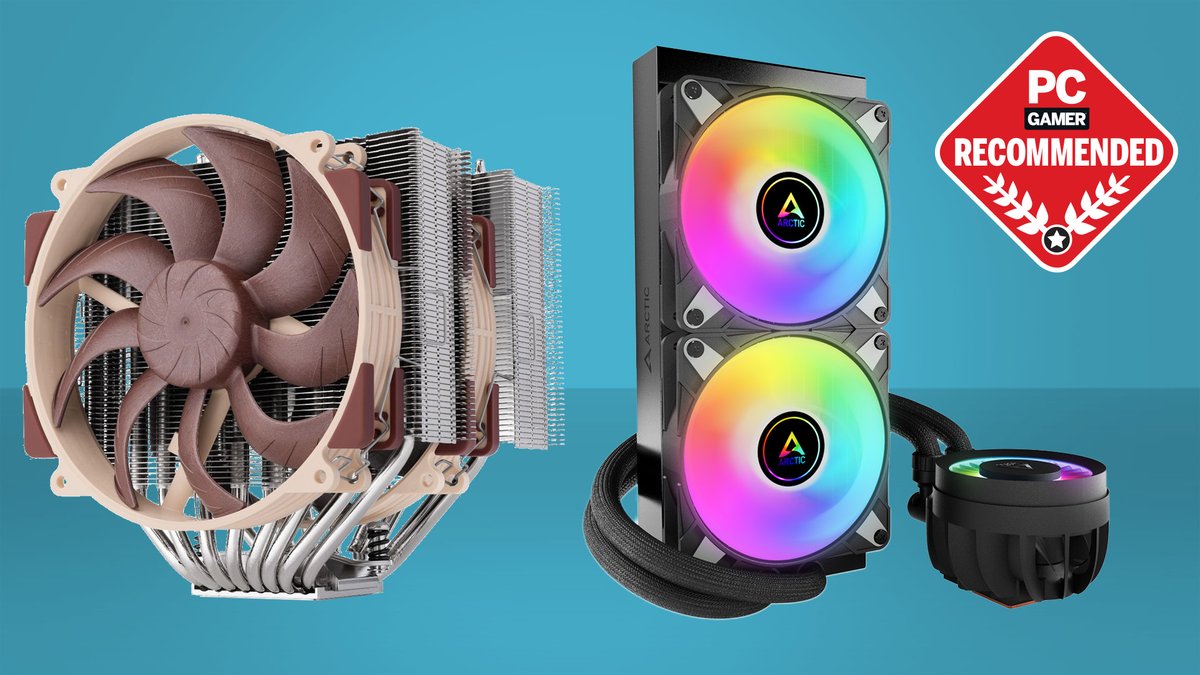
- AIO vs. Custom: AIOs are pre-assembled, beginner-friendly, and perfect for most users. Custom loops offer maximum performance but require advanced expertise. This guide focuses on AIOs.
- Prep is Key: Clear your workspace, gather your tools, and install core components (motherboard, CPU, RAM, NVMe) before touching the cooler.
- The Big Picture: You'll mount the backplate, attach fans to the radiator, secure the radiator to your case, then carefully install the water block, and finally manage your cables.
- Size Matters: Match your cooler's size to your case's capacity and your CPU's cooling needs.
- Don't Forget Maintenance: Regular cleaning keeps your cooler efficient and extends its lifespan.
Why Liquid Cooling? Unpacking the Performance Edge
Modern CPUs, especially high-end models or those subject to overclocking, generate a significant amount of heat. Keeping these temperatures in check is vital for maintaining performance, preventing thermal throttling, and ensuring the longevity of your components. This is where liquid CPU coolers shine.
Unlike traditional air coolers that rely on a large heatsink and fans to dissipate heat, AIO liquid coolers circulate a specialized cooling liquid through a closed loop system. Heat is drawn away from your CPU by a water block, transferred to the liquid, pumped to a radiator, and then dissipated into the air by fans. This method is often far more efficient, especially under heavy loads, leading to lower CPU temperatures and quieter operation.
AIO units are particularly appealing for beginners or those seeking a hassle-free solution because they come pre-assembled and sealed. There's no mixing of fluids or complex tube routing involved, making them a "set it and forget it" cooling powerhouse.
The Foundation: Essential Pre-Installation Steps
Before you even unbox your new cooler, a little preparation goes a long way. Think of this as setting the stage for a smooth, stress-free installation.
Getting Your Workspace Ready
First things first, clear your workspace. A clean, well-lit, and clutter-free area not only makes the process easier but also reduces the risk of misplacing small screws or dropping components. Lay out an anti-static mat if you have one, or at least ensure your work surface is non-conductive.
Safety First: Guarding Against Static Electricity
Electrostatic discharge (ESD) can be a silent killer for PC components. While modern components are more resilient, it's always wise to take precautions. Wearing an anti-static wrist strap, connected to a grounded metal object (like your PC's power supply casing while it's plugged in but switched off), is a simple and effective measure. Alternatively, you can regularly touch a grounded metal object to discharge any static buildup.
Gathering Your Arsenal: Tools and Equipment
You won't need a full workshop, but having the right tools on hand prevents frustrating pauses mid-installation. Here's what you'll typically require:
- Your Liquid CPU Cooler: Naturally! Ensure all its components (radiator, fans, water block, mounting hardware) are present.
- Phillips Head Screwdriver: The trusty workhorse for virtually all PC builds.
- Thermal Paste: Check if your cooler's water block comes with pre-applied thermal paste. If not, you'll need a tube of high-quality paste.
- Cable Ties or Velcro Straps: For neat cable management.
- Isopropyl Alcohol (90%+): Essential for cleaning old thermal paste.
- Lint-Free Cloths: For applying alcohol and cleaning surfaces.
- Your PC Case: Ready to accept its new cooling system.
- Your Motherboard, CPU, RAM, and NVMe Drives: Installed and ready within the case.
Why Install Core Components First?
It's a best practice to install your motherboard, CPU, RAM sticks, and NVMe drives before the cooler. This provides ample space and easier access, especially for securing the CPU and RAM. Crucially, avoid installing your GPU at this stage; it can often obstruct the area where the water block and radiator tubes need to go, turning an easy task into a fiddly nightmare.
The Build-Out: Step-by-Step Liquid Cooler Installation
Now, let's get to the main event. Follow these steps meticulously, consulting your specific cooler's manual for any model-specific nuances.
1. Bidding Farewell to the Old Cooler (If Applicable)
If you're upgrading, your first task is to safely remove the existing CPU cooler.
- Power Down: Completely shut down and unplug your PC from the wall socket.
- Open Up: Remove the side panel(s) of your PC case.
- Disconnect: Gently unplug the old cooler's fan cable(s) from the motherboard. If it's an AIO, also disconnect its pump and any RGB cables.
- Unmount: Unscrew the old cooler from its mounting bracket. If it's an air cooler, gently twist and pull it off the CPU. The thermal paste can create a strong bond, so a slight twist helps break the seal without stressing the CPU socket.
- Clean Up: Once the cooler is off, you'll see dried thermal paste on both the CPU's Integrated Heat Spreader (IHS) and the cooler's base plate. Apply a small amount of isopropyl alcohol to a lint-free cloth and carefully wipe away all traces of the old paste. Repeat until both surfaces are perfectly clean and shiny.
2. Installing the Backplate: The Cooler's Foundation
The backplate provides the necessary support and mounting points for your water block.
- Refer to Your Manual: Cooler backplates vary significantly between CPU sockets (e.g., Intel LGA 1700, 1200, 115X, AMD AM4, AM5). Your cooler's manual will show the correct orientation and specific screws/standoffs for your CPU socket.
- Align and Secure: From behind the motherboard, align the backplate with the CPU socket's mounting holes. It should slot into place easily. Once aligned, insert the appropriate standoffs or screws from the front side of the motherboard, passing them through the mounting holes and into the backplate. Hand-tighten them initially.
3. Attaching Fans to the Radiator: Airflow Essentials
It's generally easier to install the fans onto the radiator before mounting the radiator inside your case. This gives you more room to maneuver.
- Mind Your Airflow: This is a critical decision. Fans have an intake side (often the open side) and an exhaust side (usually with the frame and motor supports).
- Intake: Fans pull cool air into the case.
- Exhaust: Fans push warm air out of the case.
- Common configurations:
- Front-mounted radiator: Often configured as intake to bring cool air into the case, cooling the CPU before it reaches other components.
- Top-mounted radiator: Almost always configured as exhaust to remove hot air rising from inside the case.
- Rear-mounted radiator: Typically exhaust.
- Secure the Fans: Line up your fans on the radiator according to your chosen airflow direction. Use the long screws provided with your cooler to secure the fans tightly to the radiator. Make sure the cables are oriented in a way that allows for easy routing later.
4. Mounting the Radiator: Finding its Home
Now, it's time to find a spot for the entire radiator and fan assembly within your PC case.
- Positioning is Key:
- Top Mount: Popular choice, typically configured as exhaust. Great for removing hot air from the CPU directly out of the case. Ensure there's enough clearance from your RAM modules.
- Front Mount: Can be intake or exhaust. As intake, it provides the coolest air to the radiator but might slightly warm the air for your GPU. As exhaust, it removes hot air but uses warmer internal case air for cooling. Requires careful tube routing.
- Rear Mount: Usually only for smaller 120mm radiators, typically configured as exhaust.
- Clear the Way: Remove any case panels or brackets that might obstruct the radiator's installation.
- Align and Secure: Align the radiator's mounting holes with the pre-drilled holes in your case. Pass the radiator cables (fan and RGB) through nearby case cutouts to the back of the motherboard tray for cleaner cable management. Secure the radiator by tightening its screws to the case. Ensure a snug fit without over-tightening.
5. Installing the Water Block: The Heart of the Cooler
This is where the actual cooling action begins. Precision and care are paramount here.
- Clean the CPU (Again): Even if your CPU was clean, a quick wipe with isopropyl alcohol and a lint-free cloth ensures no dust or fingerprints have settled on the IHS.
- Thermal Paste Application:
- Pre-Applied: Many AIO water blocks come with a pad of thermal paste already applied. If so, simply remove any protective film and proceed.
- Manual Application: If your block is bare, apply a small, pea-sized dot of thermal paste to the very center of your CPU's IHS. Don't use too much; the pressure from the water block will spread it evenly. Avoid spreading it manually, as this can introduce air bubbles.
- Install Retention Bracket: Attach the appropriate retention bracket around the water block according to your cooler's instructions and your CPU socket type. This bracket typically has arms that will connect to the standoffs you installed earlier.
- Place the Water Block: Carefully lower the water block onto the CPU, ensuring it's correctly oriented (e.g., so the tubes aren't kinked and the logo is upright, if applicable). Align the water block's mounting holes with the support screws/standoffs from the backplate.
- Secure Evenly: This is critical for optimal thermal transfer. Gradually tighten the thumbscrews (or nuts) in a diagonal pattern (e.g., top-left, bottom-right, top-right, bottom-left). Tighten each screw a few turns at a time, then move to the next, until all are snug. Do NOT overtighten, but ensure firm, even pressure. This symmetrical tightening ensures uniform contact between the water block and the CPU, spreading the thermal paste perfectly.
6. Managing the Cables: Tidy and Tucked Away
Now that all the hardware is in place, it's time to connect everything and make it look good. Proper cable management isn't just for aesthetics; it also improves airflow within your case.
- Fan Connections: Connect all fan cables from the radiator fans to the appropriate fan headers on your motherboard. Many motherboards have dedicated "CPU_FAN" or "PUMP_FAN" headers. If your cooler has multiple fans, they might daisy-chain or connect to a fan hub. Consult your motherboard manual for header locations.
- RGB Connections: If your fans and/or water block have RGB lighting, daisy-chain the RGB cables (if applicable) and connect them to an RGB header on your motherboard (e.g., 5V ARGB or 12V RGB).
- AIO Pump Power: Crucially, connect your AIO cooler's pump power cable. This usually connects to a dedicated "AIO_PUMP" or "PUMP_FAN" header on your motherboard. If your motherboard lacks one, connect it to a regular fan header and ensure it's set to run at full speed in your BIOS to provide consistent power to the pump. Never leave the pump unplugged!
- SATA Power: Finally, connect your AIO cooler's SATA power cable (if it has one) to a spare SATA power connector from your power supply unit (PSU). This provides additional power for the pump or RGB controller.
- Route and Secure: Use cable ties or Velcro straps to bundle and route all cables neatly behind the motherboard tray or along the case's existing cable channels. This keeps them out of the main airflow path and makes your build look professional.
Choosing the Right Cooler: A Matter of Scale and Ambition
Selecting the right liquid cooler size involves balancing your case's capacity with your CPU's cooling demands and your personal performance goals.
Compatibility is Paramount
Before anything else, confirm your chosen cooler is compatible with both your PC case and your CPU socket. Check the cooler manufacturer's specifications for supported Intel LGA (e.g., 1700, 1200, 115X) and AMD AM (e.g., AM4, AM5) sockets. Also, verify your case supports the radiator size you're considering.
Fan Size: 120mm vs. 140mm
- 120mm Fans: Standard size, suitable for smaller cases and common on 120mm, 240mm, and 360mm radiators. They provide good cooling but may need to spin faster (and thus be louder) to achieve the same airflow as larger fans.
- 140mm Fans: Offer a larger surface area, meaning they can move more air at lower RPMs, potentially resulting in better cooling and quieter operation. They require more space and are typically found on 140mm, 280mm, and 420mm radiators.
Radiator Size: Matching Power to Purpose
The size of your radiator directly correlates with its cooling potential. More surface area means more heat can be dissipated.
- Single Fan (120mm/140mm radiator):
- Best For: Casual users, budget builds, or compact mini-ITX cases with limited space.
- Performance: Sufficient for entry-level to mid-range CPUs that aren't heavily overclocked.
- Dual Fan (240mm/280mm radiator):
- Best For: Mid-sized cases, mainstream to high-end CPUs, and those planning occasional overclocking. This is often the sweet spot for performance-to-price.
- Performance: Provides excellent cooling capacity for most modern CPUs, offering a good balance of thermal performance and noise levels. When weighing options for demanding setups, you might wonder Is 360mm cooling worth it? especially for these mid-range to high-end builds.
- Triple Fan (360mm/420mm radiator):
- Best For: Hardcore users, enthusiasts, and anyone demanding maximum performance from top-tier CPUs, especially with heavy overclocking. Requires larger cases with ample mounting options.
- Performance: The ultimate in AIO cooling, capable of taming even the hottest processors under extreme loads.
Noise Levels: The Quest for Silence
If a quiet PC is a priority, don't just look at radiator size. Pay attention to the noise specifications of the fans included with the cooler, typically measured in decibels (dB). Look for fans designed for low noise or consider swapping out stock fans for premium low-noise alternatives. Pump noise is less common but can occur; reputable brands generally design for quiet pump operation.
The Moment of Truth: Final Checks and Power Up
You're almost there! Before closing up your case, take a deep breath and perform a thorough visual inspection.
- Double-Check Connections:
- Is the water block securely mounted with even pressure?
- Are all radiator fans mounted correctly and spinning in the intended direction (airflow)?
- Are all fan cables connected to the correct motherboard headers?
- Is the AIO pump power connected? (This is often overlooked!)
- Are RGB cables connected, if applicable?
- Is the SATA power cable (if present) connected to the PSU?
- Clearance: Ensure no cables are snagged in fan blades or obstructing components. Check that the radiator tubes aren't kinked or rubbing against sharp edges.
- Debris Check: Look for any stray screws, tools, or bits of packaging that might have fallen into the case.
Once you're confident, carefully put the side panel back on and plug your PC back into power.
First Boot Success: What to Monitor - Power On: Press that power button! Listen for any unusual noises – a pump whirring, fan grinding, or gurgling sounds (a small amount of gurgling on first boot is normal as air settles, but it should quickly subside).
- BIOS/UEFI Check: Enter your system's BIOS/UEFI. Check the CPU temperature readings. Ensure the CPU fan header (where your pump is likely connected) is showing RPMs, indicating the pump is running. Set the pump header to run at 100% speed for optimal cooling.
- Software Monitoring: Once Windows (or your OS) loads, install monitoring software like HWMonitor, Core Temp, or HWiNFO64. Monitor your CPU temperatures at idle.
- Stress Test: To truly test your cooler, run a CPU-intensive application or a dedicated stress test (e.g., Prime95, Cinebench) for 15-30 minutes. Monitor temperatures under load. Your CPU's temperatures should remain well within safe operating limits, ideally below 80-85°C for sustained heavy loads, although specific CPUs have different thermal limits.
Keeping it Cool: Maintenance and Troubleshooting Tips
Liquid coolers are generally low-maintenance, but a little care goes a long way in ensuring peak performance and longevity.
Regular Maintenance Routine
- Dust is the Enemy: The single biggest threat to your cooler's efficiency is dust buildup on the radiator fins and fan blades. Regularly clean them with compressed air. Aim to do this every 3-6 months, depending on how dusty your environment is. Gently hold the fan blades in place while spraying to prevent them from spinning too fast and potentially damaging the bearings.
- Visual Inspection: Occasionally open your case and visually inspect the tubing, connections, and water block for any signs of leaks or wear. While AIOs are sealed, it's good practice. (For custom loops, this is critical; regularly check fluid levels and inspect for leaks.)
Tackling Common Troubleshooting Issues
If you encounter problems, don't panic. Here are a few common scenarios and what to check:
- High CPU Temperatures:
- Poor Airflow: Double-check your fan orientation on the radiator and within the case. Ensure intake and exhaust fans are creating a balanced airflow.
- Pump Issue: Is the pump actually running? Check its power connection to the motherboard header and verify RPMs in BIOS/monitoring software. A dead or struggling pump will quickly lead to soaring temperatures.
- Poor Water Block Contact: Was the water block mounted correctly with even pressure? Re-seating it with fresh thermal paste might be necessary.
- Dust Buildup: A clogged radiator will severely hinder heat dissipation. Give it a good cleaning.
- Unusual Pump Noise (Gurgling, Grinding):
- Air Bubbles: A little gurgling at first startup is normal. If it persists, it might indicate significant air trapped in the loop. Sometimes tilting your PC case gently in different directions can help dislodge bubbles and move them to the radiator.
- Pump Failure: A persistent grinding or high-pitched whine could signal a failing pump. Check all connections, and if the noise doesn't subside, consider contacting the manufacturer or replacing the cooler.
- Radiator Orientation: Some recommend mounting the radiator with the tubes at the bottom, or at least ensuring the highest point of the radiator is above the pump, to keep air bubbles trapped in the radiator rather than the pump.
Remember, a well-installed and maintained liquid CPU cooler is a powerful ally in your quest for optimal PC performance.
Final Thoughts: Confidence in Every Cool Cycle
Installing a liquid CPU cooler doesn't have to be intimidating. By following this comprehensive guide, taking your time, and paying attention to the details, you'll not only achieve a perfectly cooled system but also gain invaluable experience and confidence in PC building. Enjoy the lower temperatures, quieter operation, and impressive aesthetics that liquid cooling brings to your high-performance machine!